Sunday, January 2, 2011

Third Card for the year

I've had  this card in my head for a while and got this stamp the other day on sale at JoAnne's.  It's not quite as frilly as I had pictured because the image took up more room.  Was  originally going to put it on the larger card base, but it fit better here.
The Stamp is InkaDinkaDo.  Label is cut with TH 'On the Edge" die.  Colored with Copics.  Lattice from EK Punch.  Flowers CTMH.
 Leaves were cut from another stamp from the same set as the flowers and only adhered on the end so they would be somewhat dimensional.  Ribbon is weaved threw the lattice before adhering to card.  I am happy with the way it turned out, even though it's not exactly as imagined.  Guess the rest of the elements will go on another card :) .

First Creations of the Year

Should have posted these last night, but I was up too late doing them.  Then couldn't sleep so had to get up again.  Finally back to bed at 4:30 am.  Not a good way to start the year, but I'm happy with my creations.

I got this Close to My Heart stamp at least a couple years ago, and have never used it.  I thought it was cute when I ordered it, but since I didn't do coloring until I got the Copics, I had't used it.  So glad I waited, it was so much fun to do.  I also found a cute paper stack that I forgot I had.  It is DCWV embossed and glittered paper.  Flourish and label cut with Vagabond.  Brown border is from an EK punch.  Ribbon generic.  Pearls are JoAnne's 1$ stuff.
 I wish the cake would show p better, I was so happy with the way it turned out.  It is colored with Copics and then I filled in the white area on the cake, and the cake stand with Jellyroll  pen "Glaze."  It is so cool, because it actually looks like icing on the cake, and just makes it 'pop' right out.  I didn't cover the flowers. 

Background is the same paper stack as above.  Ribbon is from Target in the $1 section.


Cake dish is coated with Glaze like the other one.


Saturday, January 1, 2011

Happy New Year! It's done.

I got it all done before the end of the year!  Added a 6 foot table where the cutting table.  Now these two tables contain everything that was currently on one table.  No wonder I always got buried!  Don't know if I'm going to leave the 2 footer there or not.
 Moved the cutting table to the east of the main table.  Added the little white drawers that were formerly in the closet holding a bunch of burned out pens.  Now they hold my adhesives, some tools and bling that used to be laying around on the table, or  in an open box.  There are actually two drawers of adhesives, including tape runners, glue dots, pop dots, dimensional glue dots, sheet adhesives, vellum tape and glue sticks.  Who would have ever thought there were so many ways to adhere paper to a surface.
 This is the embossing table.  Full jars sit on the shelf, but I now use the plastic food storage to put them in and it is so much easier.  Just keep a plastic spoon in each one and I can apply it to  the image and the extra all goes back in to the container, and no clean up   Love it.
 The magazine racks contain Neennah paper in one.  You can't use Copics on just any paper because it will bleed out of the design.  The other rack has scratch paper that I salvage from the office.  When I do deposits there is always a large piece of the copy paper left, so I put it in here and use it for testing stamps, colors or pick up over spray I use the Copic airgun.  I love my racks for the copics.  I had them in a purchased holder but they sat upright and I had to have two containers because there are two different style pens;  They sell racks like these online but they are $17 each.  I made these from the bottom of a used priority mail box.  Covered it with pattern paper and added cardboard shelves.  Now I have them seperated in to color families and when I'm done I can just pop them back in and don't have to look for the little hole that they fit in to.  The acrylic box holds my acrylic blocks for stamping with acrylic stamps.  Lots of acrylic, hey?  lol. 
 This is my new love, the Vagabond designed by Tim Holtz and produced by Sizzix.  My long loved Cuttle bug and Cricket are behind.  I may or may not get rid of the cuttlebug, as the Vagabond does everything and more than it. 
 All my cutting dies and embossing envelopes at hand.
I'm so delighted with my little space and looking forward to hours spent in there creating this year.

Thursday, December 30, 2010

A New Beginning

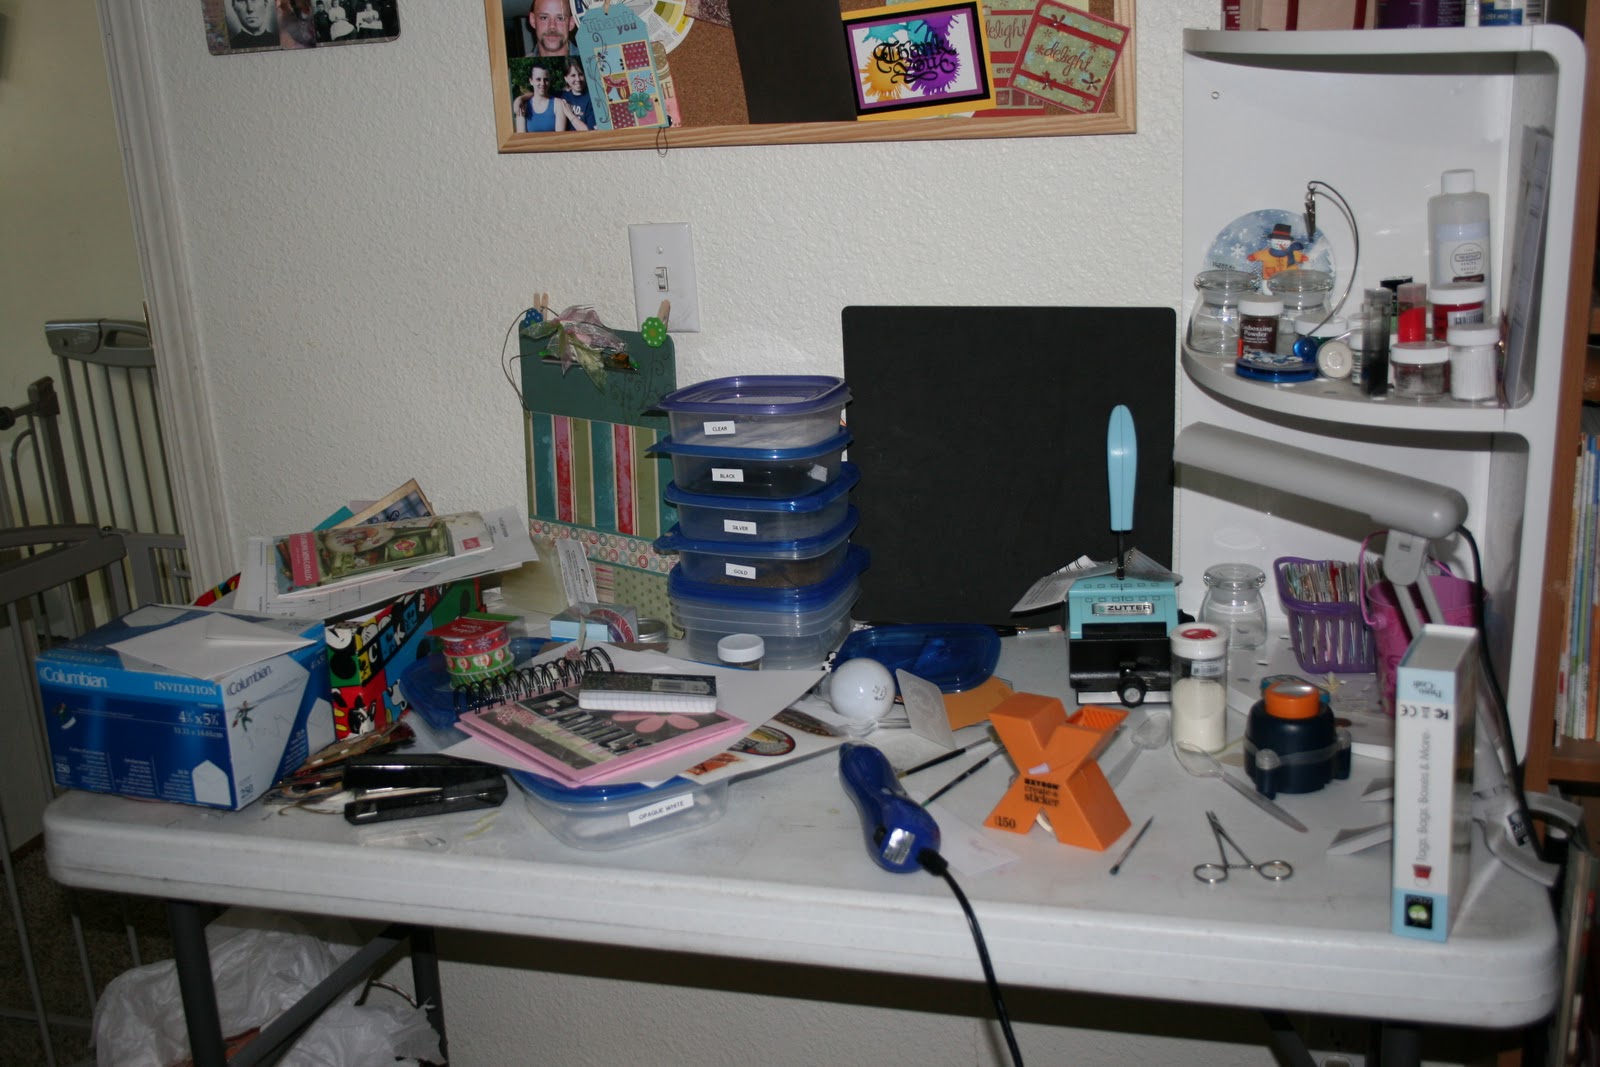
I want to start working on some new projects, something other than cards.  Though I will never give up cards completely.  But before I can even think creatively I have to re organize and re design my art room.  This is my workspace.  Actually, it was cleaned up some before I took the picture.  I usually only have about a 12" space to work on. 

 This is my die cutting table.  Not too bad, but still pretty crowded.
This disaster is my heat embossing table.  Unfortuantely it has collected a few other things too.


So, we went to Walmart tonight and picked up another 6' table, and put it where the die cut table is, and moved the die cut table to the right of the table here..

There is a file cabinet and an iris cart here that I moved under the tables.  Then I shifted a lot of the stuff around and while I'm not done yet, hopefully tomorrow I will be and I'll post an update.  I made some good progress tonight.

Saturday, December 25, 2010

Fabric Flowers

This one is done using TH's Alterations die cut Tattered Florals.  There are four differnt size of flowers in this die.  Only three are used here, the fourth is quie a bit larger.  The rose is done with the same technique as the other roses, but it looks a little different because of th weight of the flower.  There are four layres in the rose, 3 in the daisy and three in the little one.
Each petal of each layer has distress stickles added.  I have a pair of hemostats left over from my doula days and it worked perfectly for holding the petal and rolling it slightly to dry with the heat gun.  The bottom side of the daisy petals are inked, but I found out you have to be very careful because I pulled two petals off doing that.
The base is embossed with a cuttlebug embossing folder and inked with Spun Sugar Distress inks and the blending sponge tool.  Happy Birthday sentiment is Inkadinkado.  I think it took a couple hours to do this card with all the prep work on the flowers.

Friday, December 24, 2010

Frugal Cardmaking

You know when you buy the little dollar stamps at Michaels and JoAnn's?  They have a thin clear acrylic liner on either side of the stamp.  One I keep to cover the stamp in my notebook where I store my clear stamps, the other one usually gets thrown away.  But, with my Vagabond (you can use any die cut machine), I cut flowers (3 in this case) from each one.  Then I laid it on a piece of paper and put drops of Adirondack alcohol inks here and there and used compressed air, like you use to clean your computer to spread the ink around.  I used Raisin, Raspberry and Pink Sherbet.  The I set the ink with my heat gun.  To make the petals curl I very carefully "dove" the heat gun closer and pulled it away quickly so it didn't turn to a hard clump of plastic.  Then I used a Red violet RV19 copics pen (which is also alcohol ink, so it works well on shiny surfaces) to edge it in the places where it actually came out clear, just to give it a little definition.  Pierce the center and applied this cute little BoBunny brad.  The background script stamp is Inkadinkado.  Edges of that piece is sponge distressed with Victorian Velvet  Distress Ink. 
But that wasn't the end of the frugality.
I've always just hated wasting the center part of the mats when you only see 1/4 inch of it.  So, from each mat I cut the flourishes using a Sizzix die. Because of the type of die it was, the sizlet, it leaves the base cardstock a little wavy, but I just put it  under my glass mat for a few minutes and it laid down nicely.
Remember, I said that I laid the flowers on a piece of paper to blow the alcohol ink around?  I started out using a piece of scrap copy paper.  When I do bank deposits for work I have to print out four copies and it only uses a small portion of the copy paper, so I usually turn it over and use it again for the next deposit.  But that still leaves a good portion of the paper, so I keep those and use them in my art room for "whatever."  But then as I was doing this card, I looked at paper underneath and got another idea.  I got a piece of scrap white cardstock and used that instead.  So what looks like pattern paper here is actually the overspray from the alcohol inks coloring of the acrylic flower. 
Then I used a mixture of perfect pearls and water and misted it to give it a sheen.  I LOVE the way it turned out.  The stamps used are Close To My Heart.  Title is heat embossed on black.  Butterfly is highlighted with a jelly roll sparkle pen and cut out.

I finished off the card by cutting the border with an EK Success border punch and inked the base card with the Victorian Velvet distress ink and added the ribbon.  It was a fun way to spend a couple hours on Christmas Eve!

Thursday, December 23, 2010

Fun card

I have envisioned this card for a long time.  The background pattern paper is Colorbok.  Latice is an EK Success punch.  Blue flourish is cut with a sizzix die on my Vagabond and airbrushed with copics.  Florwers are cut with Tim Holtz Alterations die, layered, rolled, attached and misted with perfect pearls and water.  Jeweled flourish is from the dollar rack at Michaels.  Label is cut with Spellbinders die, airbrushed with cool grey copics and outlined with the same copic and and a fine line of black chalk in to set it off from the background.  It took a couple hours to make this card, but it was well worth it.  It's actually much prettier IRL. 
Though the roses are not exactly as same as in the tutorial, I think they still turned out well.  I used the same technique for the small flower.  Each rose has four layers, and the smaller flower is two layers.