Wednesday, December 22, 2010

Playing around

Been wanting to try the cut for the label, so instead of sitting in front of the tube with the puter in my lap, I decided to get up and play last night.

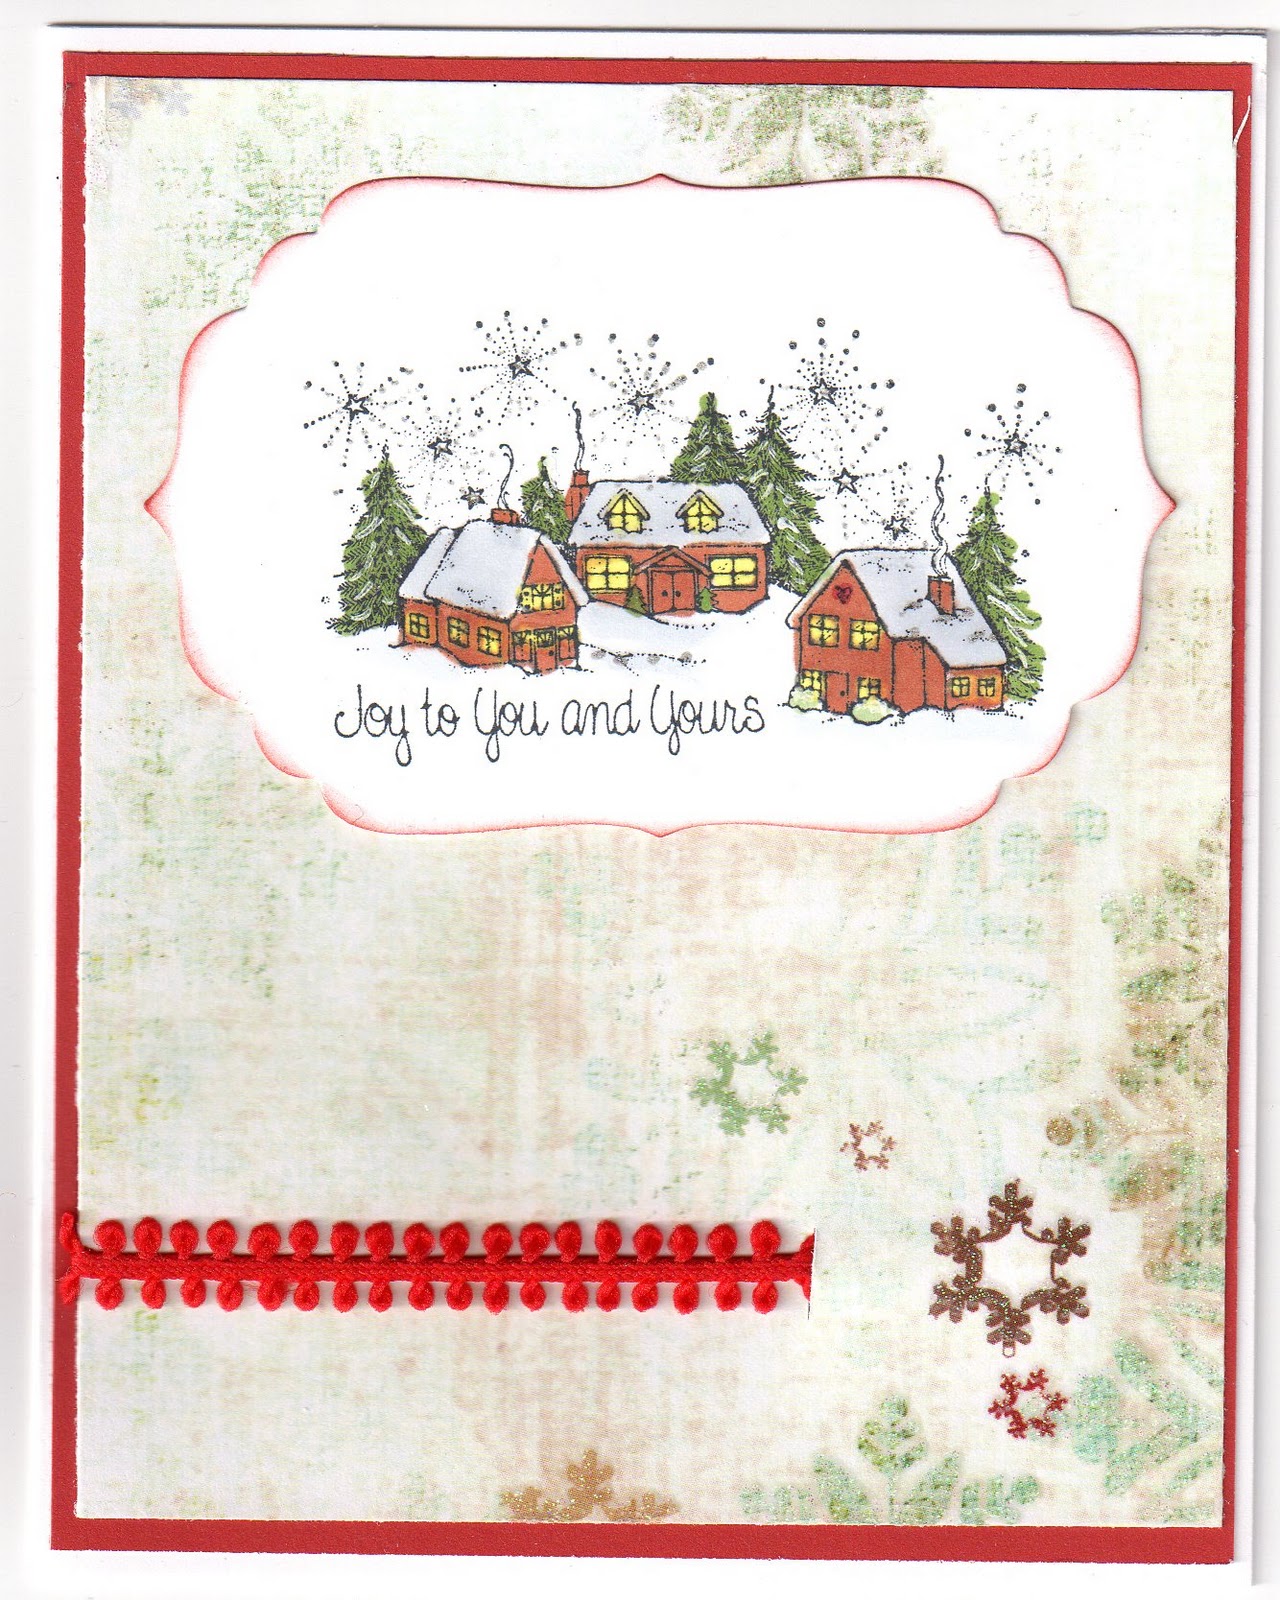
The label is cut with the Tim Holtz Alterations "on the edge" die (on my new vagabond :)).  I cut one side, then turned it around and matched it up with the first cut to get the oval shape.  The flower flourish is a Stampendous one that I've had for a long time and not used..  Coilored with Copics.  Don 't know if you can see it, but it is also shadowed with the lightest grey around the flower and flourishes.  Really adds a nice touch.  I haven't used the technique much.  Background is embossed with Tim's embossing envelopes.  I airbrushed the background with Copics and then used darker distress ink with Tim's distressing tool.  The label is also inked on the edges with distress inks.  It was with milled lavender but actually looks more yellowish, don't know why.  Sometimes inks look very different when using the direct to paper method.

Tuesday, December 21, 2010

Ahhhhh....

Christmas cards are all done, shopping is all done.  The only thing left for Christmas prep is buying the ham and fresh fruits/vegies.  We are celebrating on the 26th this year, as it is the only day that my remaining Washington family can get togther.  I got a really cool surprise gift from Panda.  If anyone doesn't know who Panda is, here he is:

 Isn't he about the cutest little thing you've ever seen?  This was right after his grooming, it only takes a couple days for him to start looking rag-tag, but he's even cute then!  So anyway, on to the nice surprise.  "Panda" bought me a Vagabond die cutting machine, THE Coolest die cutter ever made!  Can't wait to get started created more cards and goodies with it.  Will be posting more projects as they are completed.  I hope that you all enjoy them, and that you have a wonderful and glorious Christmas!

Wednesday, December 8, 2010

Cactus

I was so happy and surprised to see that this guy was blooming.  The blossoms are huge!  4+ inches across.  It only has 3 buds, but I am so pleased.

Thursday, December 2, 2010

More Christmas fun

This first card is a one layer that I dry embossed the cover, then applied gold embossing powder to the ridges and heat embossed.  The die cut is "quilted" with 1/2" strips of an embossed pattern paper.  A couple years ago I bought a pack of this paper and split it with Christy and I still have lots of it.  I ran the die cut base through the xyron so there wouldn't be a lot of gluing and just trimmed the edges when done. 
 The white looking part of the snowflake is actually die cut on the car itself.  The white showing through is actually the inside of the card.  I glued three other little die cut snowflakes on top of that and added the bling.  The white "frame" is actually the trim on the die cut that I used on the inside of the card below.
I just love my little jellyroll glitter pen.  The little flourishes on the snowman are outlined with the jellyroll pen.

 The front of this one is dry embossed with one of my new Sizzix embossing folders, then I die cut the snowfkaje abd added the embossed snowflakes and bling as with the other card.

 Though it doesn't show well, this is the inside of the last card.  The blue snowflake on the left side is actually the "positive" of the die cut from the front, and the stamped image "jellyrolled" is on the right.  These were all quite time comsuming but I like the results and it is something just a little out of the ordinary.

Sunday, November 28, 2010

Snow globes

These little guys were so fun.  I used the dryer sheet-glittter method, though it can't really be seen in the scan.  In the video tutorial I read, it says to trim the dryer sheet, but I just cut one at the same time I cut my circle for the globe.  I also figured out that you can stamp on top of the image so that it isn't quite as subdued.  I thought this little Close to My Heart stamp was perfect for the globe.
 The background is done with versamark resist and distress inking.  The snowmen and snowflakes are Close to My Heart, and the flouris on the other is Inkadinkado.

Friday, November 26, 2010

Christmas Cards

With Thanksgiivng over it is time to get in earnest about my cards.  This one really didn't scan well, and is actually very pretty.  It is a technique I just learned using a used fabric softener sheet.  First, you color the image just as you normally would, and then run it through the xyron so the adhesive is on the front of the image.  The put a used dryer sheet on top and apply fine glitter and rub it in.  Trim the edges (in this case, I ran it back through with the die cut and attach to card.  IRL it looks like a glittery snowy image.  I am going to try to do a snowglobe with it, I think it will look very pretty.


The next two are from the Copic class.  Actually, I am not sure why, the only use of copics was for the background using the wide copics.  Penguins are stamped and the black was colored with a "glaze" pen, scarves were cut from pattern paper, fringed and adhered.  There is a little glitter on the snow.

We didn't get to complete this one in class, so I did it at home.  The background is sticky glitter paper.  I know that the donkey looks red, but he really isn't.


These two were fun.  The stamp is an older Hero Arts, and fun to color with copics.  The trees are highlighted with a white "ink" pen.  Snowflakes are highlighted with the glitter pen and look very pretty IRL.  Sure with glitter would show up on scans.  Background on green and red card is embossed with a Sizzix die in my Cuttlebug, then inked so the embossing would show more.


Monday, November 22, 2010

Christmas cards

It's been a long time since I've posted.  I guess I just haven't felt very inspired lately.  But I finally got to take my Copics class last weekend, and found some inspirations.  I was scheduled for the class last month and had the time wrong, so it was rescheduled for this month.  It wasn't as dissapointing as the last class that I took at Scrapbook Nook, but it really wasn't all that I hoped it would be.  But I did learn a little bit more, and mybe I'll find an advanced class sometime.  I bought the stamp with the lightpost when I was there.  There is a lot of glittery on it that doesn't show in the picture.  The snow on the trees has glitter from the Jelly Roll Silver Star pen, and the holly berries have Stickles.
 The snowmen are a stamp that I've had for a while, but have never done them with Copics.

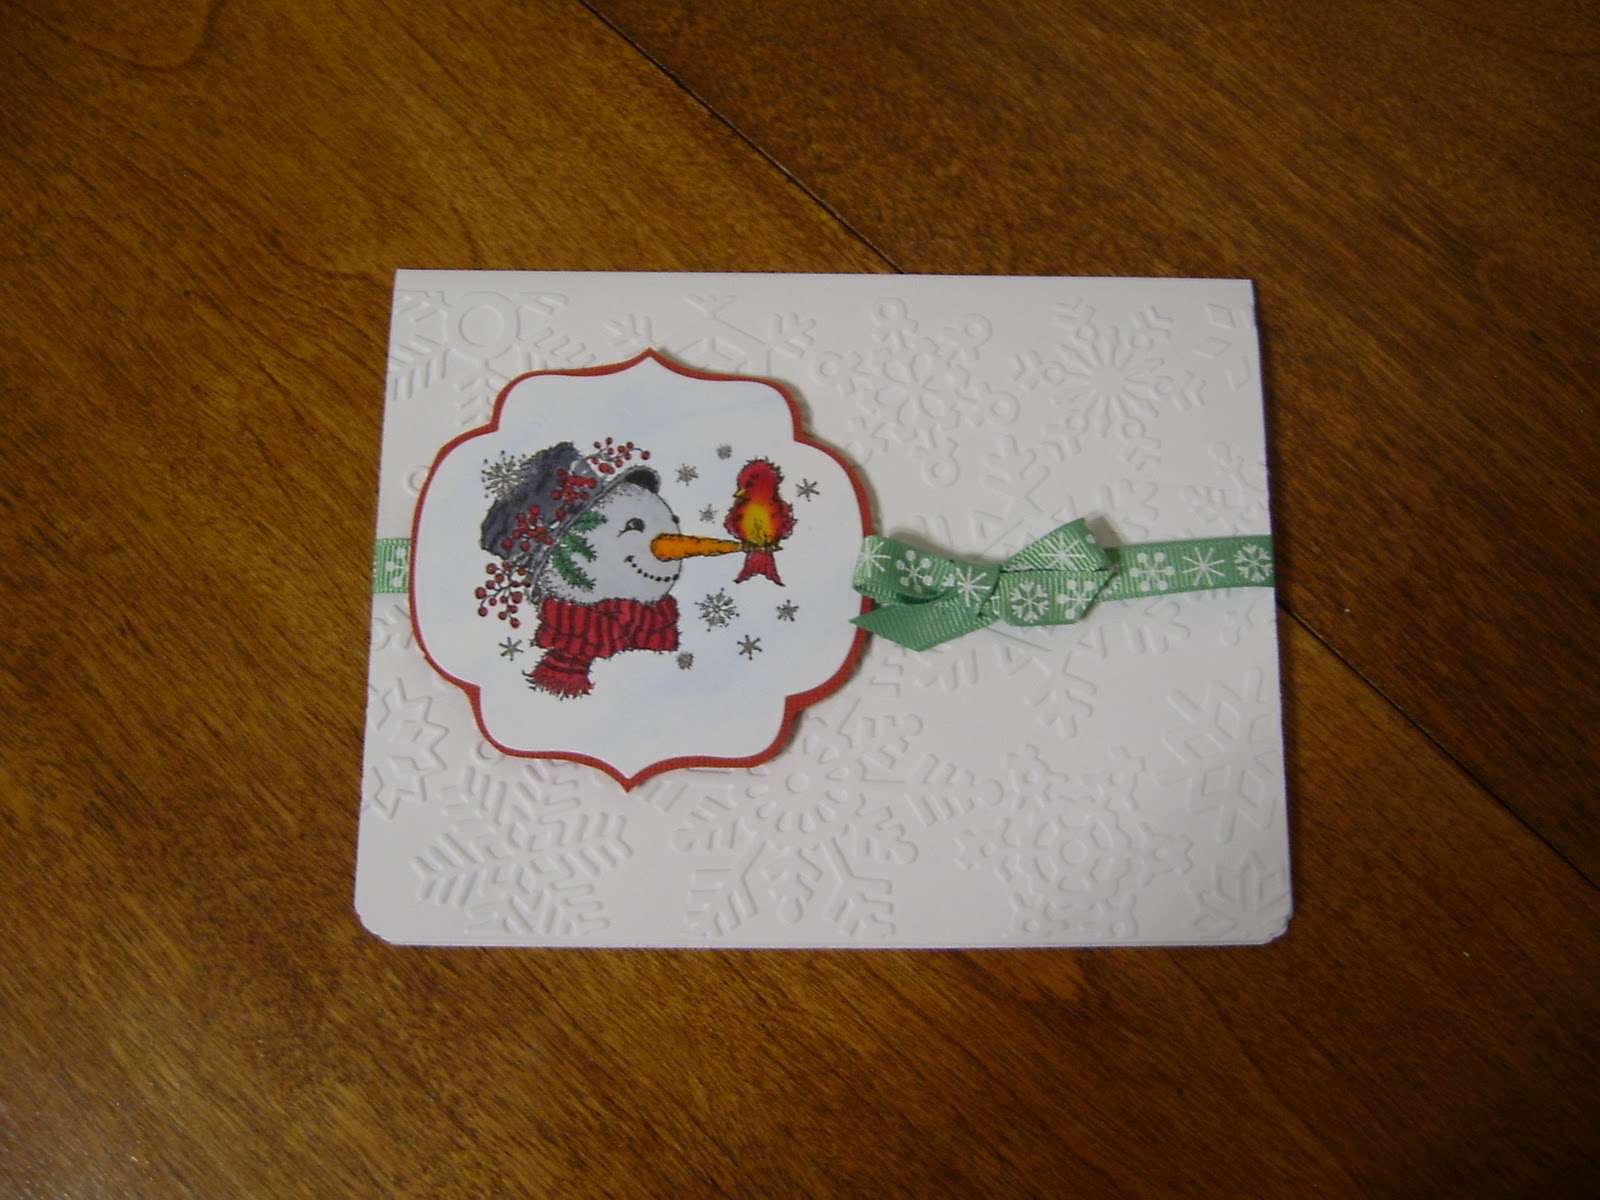
 I just love this little snowman and birdie. It is from Northridge and I got it at the class at Unique Creations.


 The card on the left is the one I did in class.  I used the Toner Grays for the fence, which is a more brownish gray.  The one on the right I did with Cool Grays and it makes a huge difference.  I'm going to have to go buy some Toners now.
So, I feel like I'm back on a roll with my cards.  Not sure how many I have done, but i know that I'm a long way from done.